Our newly introduced Expense Management App is designed to simplify the entire reimbursement process, making it incredibly user-friendly for both employees and administrators. With this app, you can easily submit, track, and manage your expenses within GoCo, eliminating any unnecessary hassle. This time-saving solution is sure to benefit everyone involved, streamlining the entire reimbursement process.
Submitting an Expense Reimbursement
Before you begin, make sure you gather all the required documentation for your expenses, such as receipts. Next, log in to GoCo!
After logging into GoCo, you will be directed to your employee home page. On the right side of the page, you will find a dedicated widget for managing your expenses labeled "Expense Management". 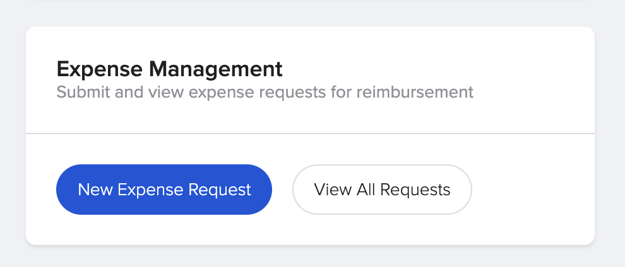
You can also access Expense Management from the Employee Profile by finding the Expense Management card. 
Whichever method you choose select the blue "New Expense Request" button to initiate a new request. 
By default, GoCo automatically assigns a name to your expense request that includes the current date. However, if you prefer to give it a different name, simply click in the designated space and start typing to rename the request.
Click "Add Expenses" to reveal your request options.
There are two options available for processing your request: manual entry or scanning receipts.
Manually Adding an Expense

When you select this option, a pop-up will appear where you need to provide the following information.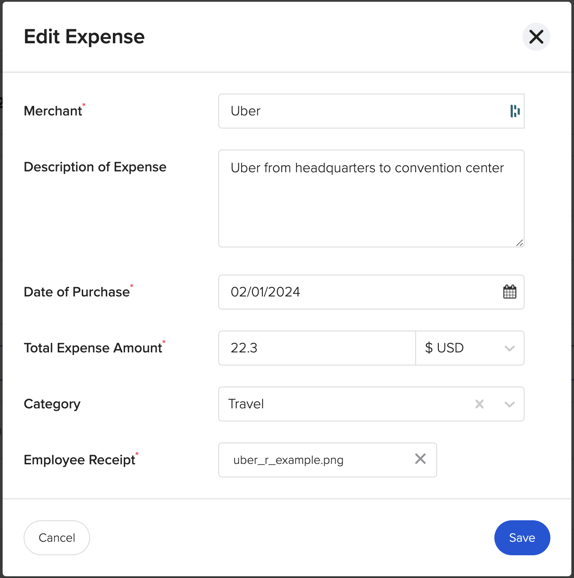
- Merchant
- Description of Expense
- Date of Purchase
- Total Expense Amount
- Category
- Employee Receipt (file upload)
Click "Save" to add the expense.
From this point, you have the option to include more expenses (up to a maximum of 10), provide a note for your manager, or leave a comment. Additionally, you can make any necessary edits to the expense if required. 
Scan Receipts
Using this option will automatically capture all the details of your uploaded receipts and add them to your expense requests (using AI).

You have the convenience of uploading your receipts through the pop-up window using various platforms such as Google Drive, your internal drive, and cloud storage.
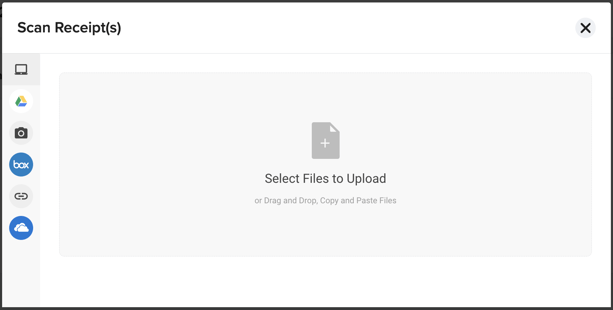
Note: You can upload a maximum of 10 receipts at a time.
From this point, you have the option to include more expenses, provide a note for your manager, or leave a comment. Additionally, you can make any necessary edits or delete an expense altogether.

Once you've added all your expenses click "Submit" at the bottom right of the page. 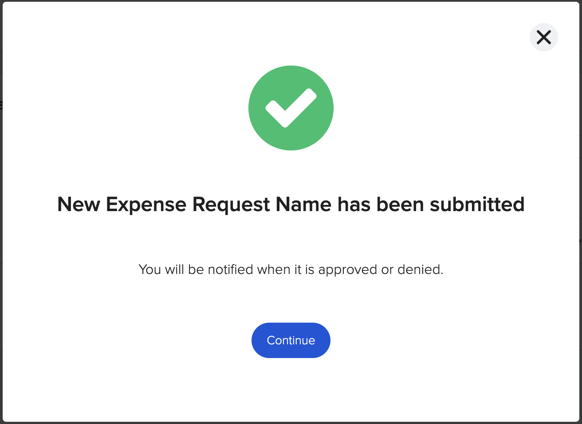
You will now be directed to the Expense Management Requests page, where you can easily view a history of all your Expenses and their respective statuses.

Tasks employees can perform on this page:
- Use the search bar at the top left to find your requests quickly.
- Filter by status by using the drop-down menu.
- On requests that are Approved or Denied, users can duplicate the request.
- Use case 1: duplicating the requests can be a time-saver for employees with recurring charges, allowing them to save a few extra clicks!
- Use case 2: a request is denied due to input error. The employee can duplicate their request, make their changes, and resubmit it for approval.
- On requests that are pending, users can re-open the request and make changes if needed.
- Create a new request by clicking on the blue "New Expense Request" button at the top right corner of the page.
- Employees will be notified when the request is approved or denied.
To learn more about how to create an expense management policy click here
To learn more about the approval process click here