How to set up and assign Documents to Collect
This comprehensive guide provides a step-by-step process for streamlining document collection. In addition, you will learn how to integrate it into your hiring workflow or assign it as a task.
The "Documents to Collect" folder in GoCo is commonly used for uploading certificates, licenses, etc. This category works a little differently than the rest of the Documents experience. Employees are presented with a place to upload a document, instead of completing a document in GoCo.
- To set up, navigate to the Documents app from the company home page or left-side menu

- From here click the blue "+ New" button to begin creating a new document

- Select "Documents to Collect"

- The following window will prompt you to provide a document name, assign it to a folder, list instructions, and upload an example. Click "Save & Continue" once you've provided your information.

- Next, GoCo will verify the document workflow process by displaying that the team member will be required to upload the document to then be acknowledged by the document admin. Click "Save & Continue".

- Review your Permissions. They're in a read-only format so remember if you want to make changes you'll need to do so in the permissions app of GoCo

- Review your Notifications and click "Save" at the bottom right of the page.
- Fantastic! After saving the template you'll be taken back to the Documents overview page. Expand the "Documents to Collect" folder to view your template.

Sending Documents Independently
Now that you've created your template, sending this as a task is easy! Simply click on the ellipses button next to the template of your choice and click "Send To..."

This will then take you to a page to select which team members you want to send this Document to Collect to. For more details on this process visit this help article!
Add to Hiring Workflow
Now that you've made your template you may want to add this to your hiring workflow to collect during onboarding!
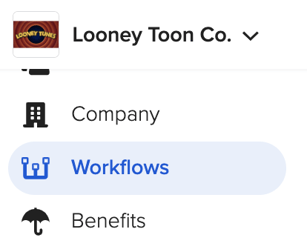
- Navigate to workflows by clicking "Workflows" on the left side menu.

- Scroll down to the hiring workflows category and select "Edit Template" on your hiring workflow
- Now on the build page find Documents under the onboarding section and select "Customize"

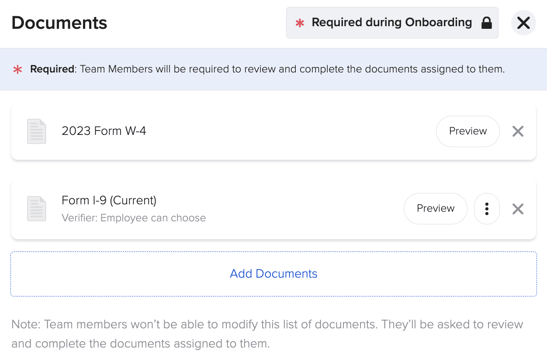
- In the window to your right click on the Add Documents button.

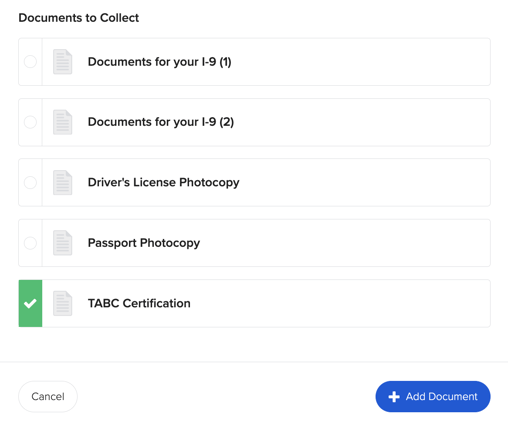
- A new window will pop up for you to select your document to collect template. Select your desired template and + Add Document

- And voila! Now you've added this document to collect as a part of your onboarding process!
If you have additional questions please email us at support@goco.io 💚