Login into GoCo as either a Full Access Admin or a user that has access to create and edit workflows. Then navigate to the Workflows app.

In the Workflows app, locate the Public Workflows section & hit the "+Add Public Workflow Button".
Hint: You can also add a new workflow from the top of your screen by hitting the ellipses button & selecting "+Add Workflow Template". After you hit add, simply select "Public Workflow" from the workflow types.

Title your new template, give it a description, & a fun icon. Once you're ready hit "Create New Workflow".

Now you are in your Build tab. Here you will begin building your workflow. Click into your workflow start form to begin.

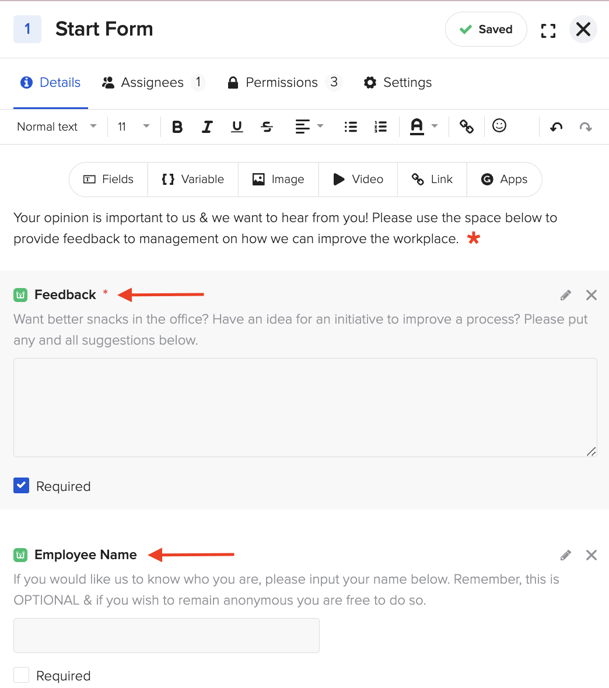
Here you will input anything you want the anonymous user to see and fill out.
🚨Important: Since Public Workflows function differently than other workflows, anything you want the anonymous user to see will NEED to be PLACED IN THE WORKFLOW START FORM.
For example, you can input some instructions for the user and some workflow fields for them to fill out like in the photo below.
After customizing the start form, it is recommended to assign a specific individual to review the submission. To do this we'll add a task. To add a new task, hit the blue "+Task" button.

For example, in this workflow, we have a task to notify HR of this submission. We titled our task, added some text to explain what HR would see, and then pulled over the fields the anonymous assignee filled out previously in a read-only format as variable fields.

After customizing our task, we'll make sure to assign it to HR.

Add any other tasks you would like to customize this workflow to your company's needs.
Once you are ready, hit "Review & Publish" at the top of the screen.

Once your workflow has been published, you'll be presented with a link to distribute your workflow. You can put this link on your company website or even pin it to your employee's profiles as a Quick Link. However you decide to do this, this is how anonymous users will access this workflow.

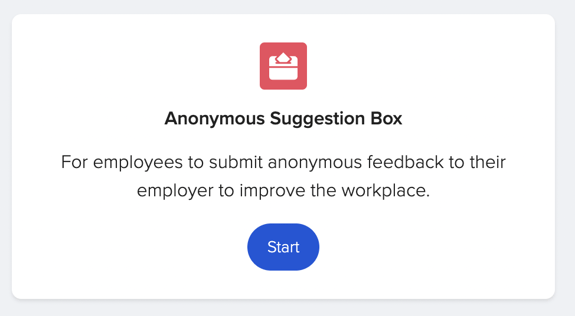
When they visit the link, they will see a start button.
Once they click start, they will be redirected to fill out the workflow fields you created.
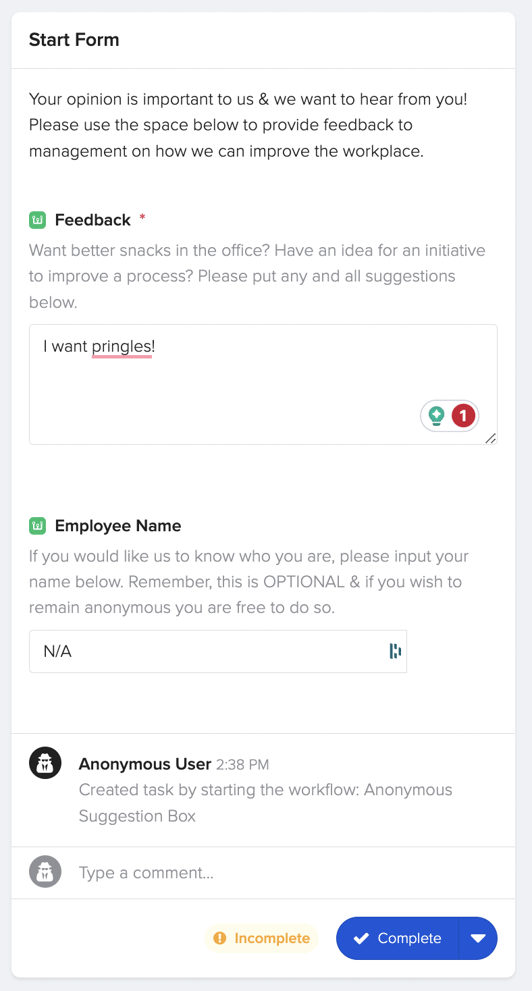
Once they are done, they will hit "Complete".
The workflow will now move on to its next task. In this case, the HR Admin is notified in their inbox that someone submitted feedback.

Here they will see their task & hit complete once they have finished whatever their task is. 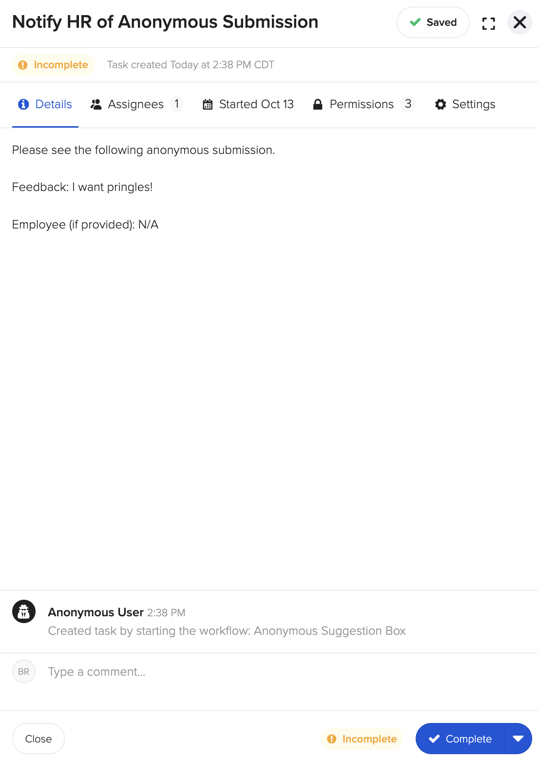
If you have any questions, please reach out to your GoCo Client Success Manager or email us at support@goco.io. 💚