With Spaces, Full Access Administrators can design valuable solutions for themselves and their managers to manage processes like Expense Reimbursements, Injury Reports, Daily Mileage, etc. It will be a place to share best practices, FAQs, & more!
Spaces serve as modular pages that allow HR Administrators to drag and drop, rearrange, and customize widgets to create an experience that reflects their unique mission, brand, and message.
So how do I access spaces?
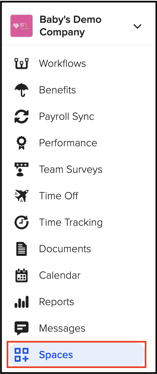
Spaces will appear on your left-side navigation tabs when you log into GoCo. You will also see a new card on your company homepage.

How do I create a Space?
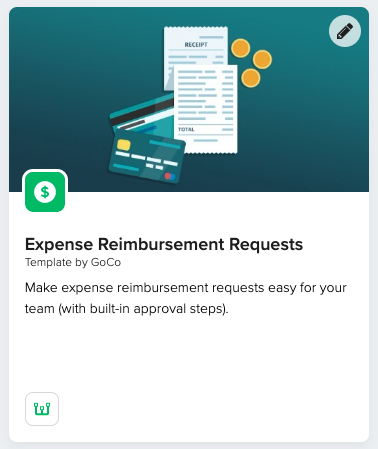
Now that you've located the Spaces app, you're ready to start building! You can either start from scratch or check out our GoCo Marketplace Templates & work off of one of those!
To begin from scratch, hit the blue "New Space" button.

First, you will name your space, give it a description, and change the icon if you wish. You can also upload a featured image to show on your space.

Now you'll be taken to your new space. Here, switch over to build mode.

In build mode, you will be able to drag & drop any widgets on the left to your space & add new pages to customize your space.

The widgets available to choose from are:
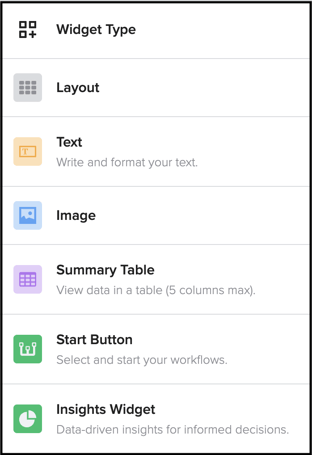
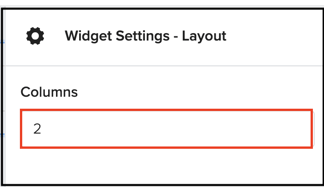
1. The Layout Widget: Used to create columns to add your widgets to. To adjust your columns use the settings panel on the right side of the screen. You can also duplicate or delete widgets by using the blue icons located at the top of the widget.

2. The Text Widget: This widget will allow you to input text, images, videos, etc. in your space. For example, maybe you want to provide some instruction for your managers on how to properly run an expense request.

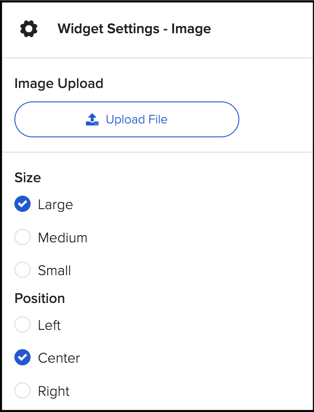
3. The Image Widget: This widget will allow you to only input an image within it. Use the settings on the right to edit the image size.

4. The Summary Table: This widget will allow you to pull data directly from your workflows in a table format & even manage/complete them. To set up a summary table, follow the steps below.
.gif?width=241&height=521&name=ezgif.com-video-to-gif%20(3).gif)
- Choose title
- Add a description if necessary
- Select the workflow template you want to display on the summary table (you will only see published workflows to choose from)
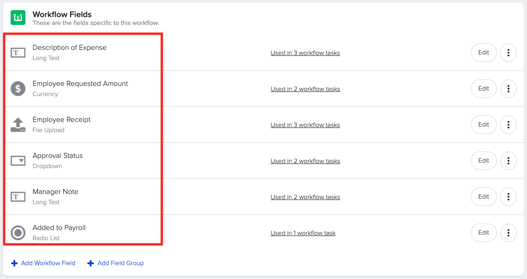
- Select which columns of that workflow you want to display on the table (you will see the fields you have set up in the workflow template to choose from here)
- Select which task of the workflow the "Action" button will complete. (you will see the task titles you have set up in the workflow template to choose from here)

- Select the text that will appear on the button that completes the task. (the "Action" is simply the text that will be shown on the "complete button".)
Now that your table is built, you can start to use it! You can filter by team member, update/refresh the table, and even navigate and/or complete task instances.

5. The Start Button: Use this widget to create a start button for any published workflow - just adjust the widget settings to select a workflow & customize your button. This allows you to start a workflow directly inside your space.

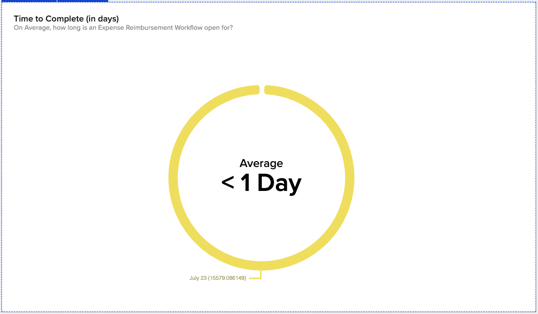
6. Insights Widget: This widget allows you to create & view data-driven insights for any of your workflows. Update the settings to select which workflow you want to analyze, set a description & name, & then choose how you want to view this information (pie chart, bar graph, etc.)
When choosing your Value Type, use this legend:
- Average Time to Live: Average time for a Workflow Template to go from Started to Completed
- Completion Rate: Percentage showing the number of Workflow Templates (Complete/ total number of Workflow Templates)
- Count: Total number of Workflow Instances
- In Progress: Total number of Workflow Instances with status = in progress
- Overdue: Total number of Workflow Instances where the due date is past today
.gif?width=209&height=335&name=ezgif.com-crop%20(1).gif)
Now that you've added all of your widgets, use the preview tab to take a look at your space before publishing.

Lastly, use your settings tab to make any final changes before publishing. This is also where you will be able to rename & delete any pages you've added.

Once you're ready, publish your space! If you want to discard your changes, use the ellipses button.
 Now that you've created your first space, check out our Spaces FAQ here!
If you have any additional questions, please reach out to your Client Success Team or email us at support@goco.io. 💚