Crash Course on Creating Announcements
Full Access Admins can send top-down communications that are exposed on each employee's home page and in their inbox. Here are some important points to know about Announcements:
- Full Access Admins or Message Admins have the ability to create new announcements directly from the homepage or Messages App.
- Announcements appear on employee home pages, as push notifications, and inbox messages.
- Announcements can persist for long durations of time.
- Admins have visibility into who has or has not seen the announcement.
- If enabled everyone can react to an announcement with emojis.
To create an Announcement, simply go to the homepage. If it doesn't appear when you log in, you can easily navigate to it by clicking "Home" on the left side menu.

- If you have permissions to create an Announcement you should notice a widget at the top left of the page with a button labeled "+ Create Announcement"

- You'll be taken to a full screen modal to provide some basic information regarding your announcement.
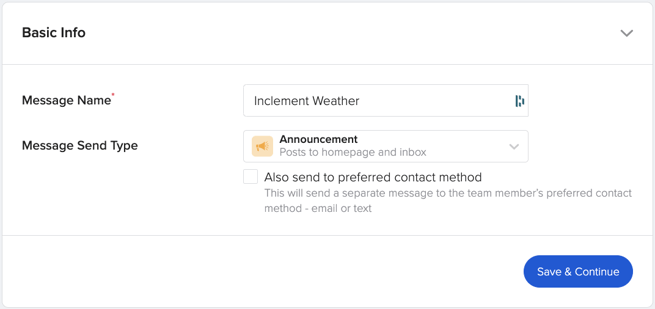
- GoCo will first ask for a "Message Name".
- For "Message Send Type" if the user does not have the messages trial or add on, they only see Announcement for Message Send Type.
- If users have the Message add-on they will see checkbox option to send the announcement via preferred contact method. If they expand the drop down they will also see options for email, text and preferred contact method.
- Click Save & Continue to move on to the next step
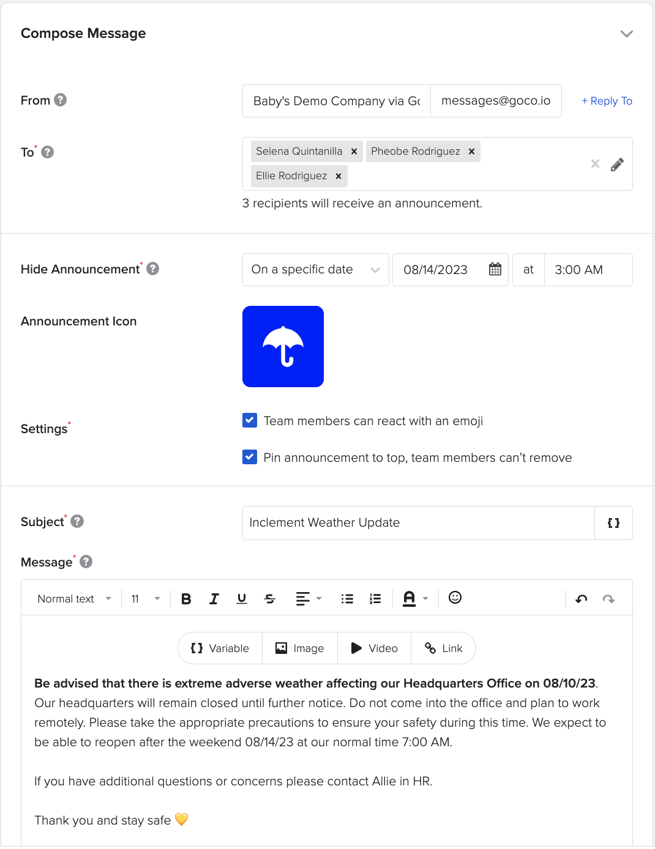
- Now it's time to create your Announcement!
- To: select team members to apply the Announcement to.
- Hide Announcement: choose a date for the automatic removal of the Announcement from the homepage. If you prefer to remove it manually, select "manual" from the dropdown.
- Announcement Icon: customize the icon according to your preference.
- Settings: adjust your settings to pin announcements and allow for reactions
- Subject: create a subject
- Message: compose your message!
- After providing your details, your page will resemble something like the image below. Click on "Continue to Preview" and review your Announcement before finalizing it
- Once reviewed. Select "Send Message" to post your Announcement.

- Viola, you're all set! Your announcement has been posted and you'll be taken to the Messages page for an overview of what has been posted.

- By clicking on the Announcement, you will be directed to a page where you can easily see who has viewed the Announcement and who has not.

- Upon logging in, employees will find the Announcement at the top left corner of their homepage.

Crash Course
Announcements FAQ
- Do I have to have the Messages add on /trial to post an Announcement?
No, you can still post Announcements! However, the Announcement will only be displayed on employee homepages and will also be sent as inbox notifications.