‼️ Do NOT use your personal or work email for test employees. If you're using Gmail, you can create a unique test email by adding "+test" to your email address, such as john.smith+test@gmail.com.
If you don't use Gmail, either use a company email address that isn’t linked to anyone who has an account created in GoCo or create a new Gmail account specifically for testing.
If you use an email address associated with another account, it will merge the profiles and require GoCo assistance to un-merge.
Login to your GoCo Account as a FAA and navigate to your "Teams" Page. You can access this page from your Company Home Page clicking on the "View" Button next to the Teams Icon or by clicking on the "Teams" page tab on the left side of the screen.

Now that you are on the Teams Page, select the blue "Add Person" Button > select "Employee" to begin the Hiring Workflow.

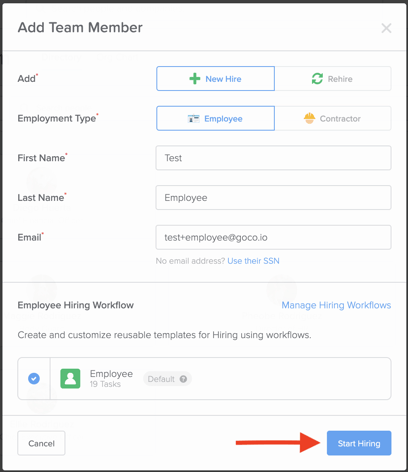
Once you have started the workflow, you will be asked to input a name and email for this employee. Since this is a test employee, be sure to put fake information here. Once completed hit the blue "Start Hiring" button to continue.
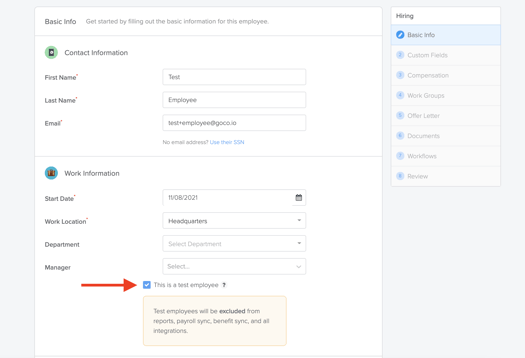
On the next page, you will be asked for Basic Information about this test employee. Here you will also be able to check that this is a "Test Employee" to ensure that they are not prompted to enroll in benefits or get added to payroll.
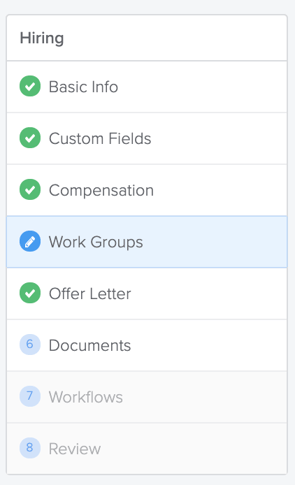
 Continue through the hiring workflow and input all required fields. Required fields will be noted by a red asterisk.
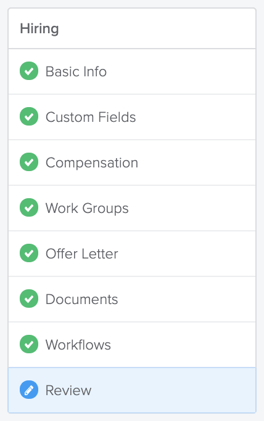
When you reach the "Offer Letter" section be sure to select the option "Don't send offer letter" since this is a Test Employee before continuing on to Documents.

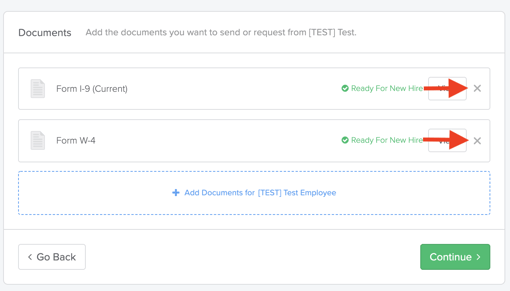
When in the Documents tab, GoCo will automatically have the W-4 & I-9 tax documents set to collect, so be sure to cancel these documents from sending by clicking the small grey "x" button next to these documents.
Continue until you reach the "Final Review" tab.
In the "Review" portion of this workflow, you will be asked to review all the information that you have input. At the bottom of this screen, you will be asked to send an onboarding link to this test employee either through GoCo or from your own email. Be sure to select the second option to send the email yourself to ensure that one does not go out. 
This will bring you to the confirmation page where an onboarding link has been generated.

Copy this link and open a new tab to begin the onboarding process from the Test Employee's POV.
Once you have navigated to this new page, you will be asked to create a fake username and password. Be sure to make note of your Test Employee's password, so that you can always access the Test Account when needed.
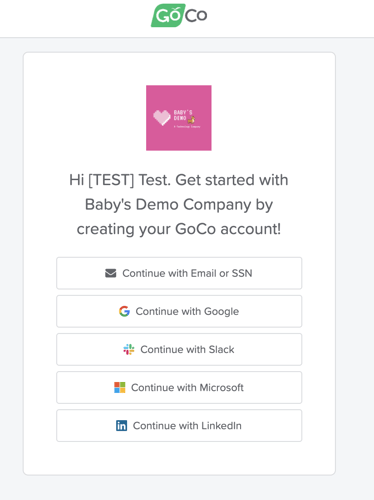
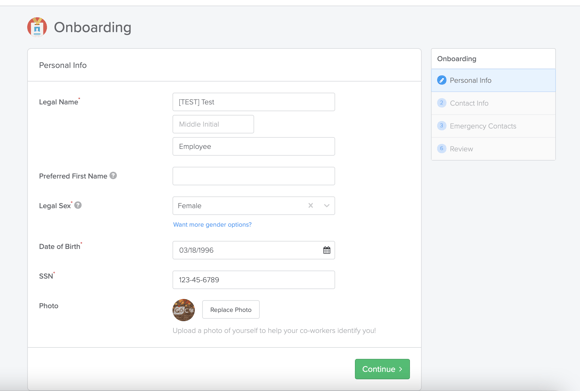
Once you have created your login and accepted GoCo's Service Agreement and Terms, you will be in the GoCo system and greeted with instructions for Onboarding. Hit the green "Start" button to begin the Onboarding workflow.

Just as on the FAA side, you will first be asked for some basic personal information.
After this is complete, continue on and complete all required fields in this workflow until you reach the final "Review" Tab.
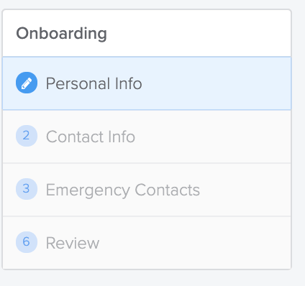
Once you are here, click "Finish" to continue on to the Final Confirmation page.

You will then be greeted with the final confirmation page, before continuing on to your Test Employee's Profile.

You will now have access to the Test Employee's profile to utilize anytime you need to test any features in GoCo.

Check out our how to video here!
🚨Please note, GoCo limits each company to have a maximum of 5 test employees and only FAA's have access to view Test Employee profiles
If you have any additional questions about Test Employees, be sure to reach out to support@goco.io.