- Help Center
- DIY Experience
-
ACA Compliance
-
Account & Permissions
-
AI Knowledge Base
-
Benefits
-
Billing
-
Documents
-
Embedded Payroll
-
Embedded Payroll with Execupay
-
Embedded Payroll with Gusto
-
Expense Management
-
FSA / HSA / Commuter Benefits
-
GoCo Marketplace Integrations
-
GoCo Marketplace Templates
-
Hiring, Onboarding & Terminating Employees
-
Implementation
-
Managing Employees
-
Messages
-
Notifications
-
Payroll Sync
-
Performance Management
-
Reporting
-
Spaces
-
Tax Withholdings
-
Team Surveys
-
Time
-
Time Off
-
Training Video Library
-
Workflows
-
DIY Experience
-
Deluxe
Company Structure on GoCo (DIY Experience)
In GoCo, your company structure has a direct affect on your reporting capabilities.
Currently you can set up the following structure for your company:
- Work Locations
- Divisions
- Departments
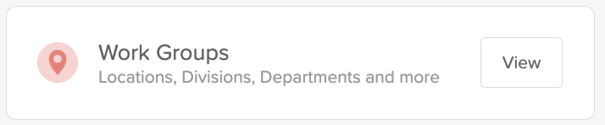
To enable Divisions, click on Work Groups from the company home page.
Then click the Settings tab at the top of the page.
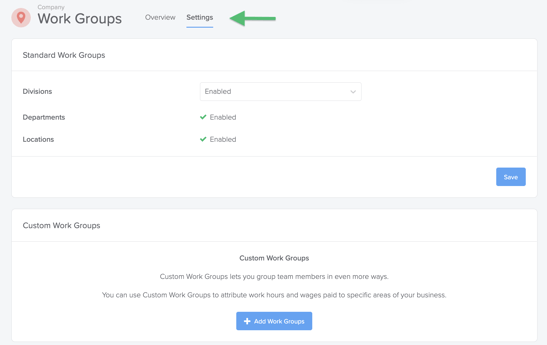
From here, you can enable or disable Divisions if you need that layer of report-ability.
Note: Custom Work Groups are located here. This category will be covered in a separate article.
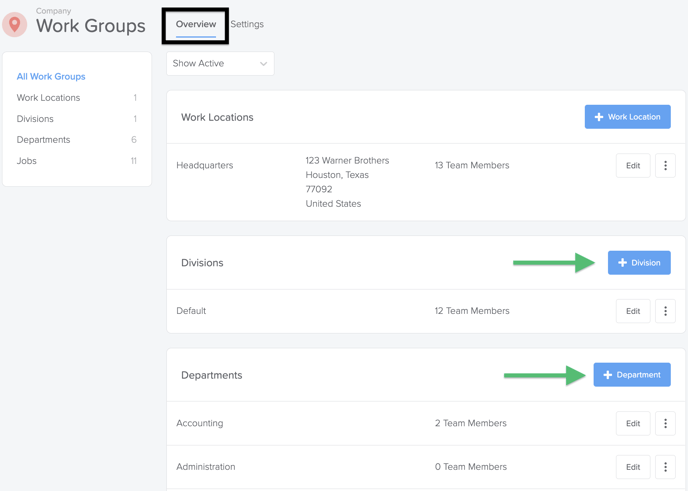
You can add Divisions and Departments by clicking the blue +Division and +Department buttons on the Work Groups Overview screen.
When you add a new designation, the pop up window will look like this:
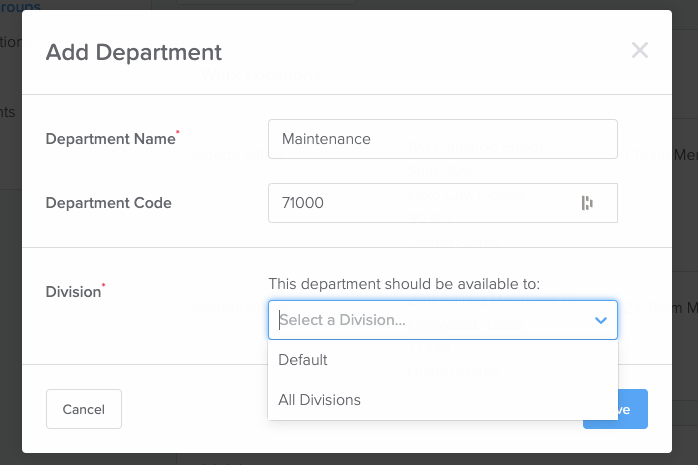
You can name your new Department/Division and assign a code for further reporting. The code field is also a great use for General Ledger Account Numbers for finance reports.
If you have Divisions enabled, you have the option to make the new department available to a specific division or all divisions.
The work group page is also another location where you can add Job Titles.
Happy Hiring 🤠