- Help Center
- Workflows
- Creating & Managing Workflows for Full Access Admins
-
ACA Compliance
-
Account & Permissions
-
AI Knowledge Base
-
Benefits
-
Billing
-
Documents
-
Embedded Payroll
-
Embedded Payroll with Execupay
-
Embedded Payroll with Gusto
-
Expense Management
-
FSA / HSA / Commuter Benefits
-
GoCo Marketplace Integrations
-
GoCo Marketplace Templates
-
Hiring, Onboarding & Terminating Employees
-
Implementation
-
Managing Employees
-
Messages
-
Notifications
-
Payroll Sync
-
Performance Management
-
Reporting
-
Spaces
-
Tax Withholdings
-
Team Surveys
-
Time
-
Time Off
-
Training Video Library
-
Workflows
-
DIY Experience
-
Deluxe
Can I Schedule a Workflow for the Future?
Automate Workflow start times by setting up a Workflow Schedule
1. Log in to GoCo and navigate to your Workflows app from the company home page or from the navigation tabs on the left side of your screen.

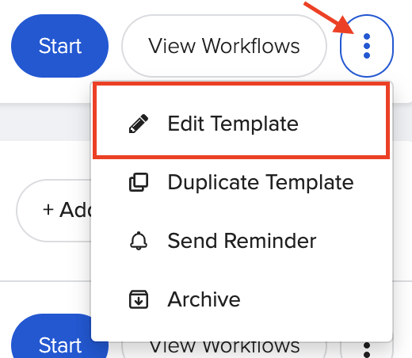
2. Here, on your "Templates" page, locate the workflow you would like to schedule. Click the ellipses button to the right & select "Edit Workflow Template".
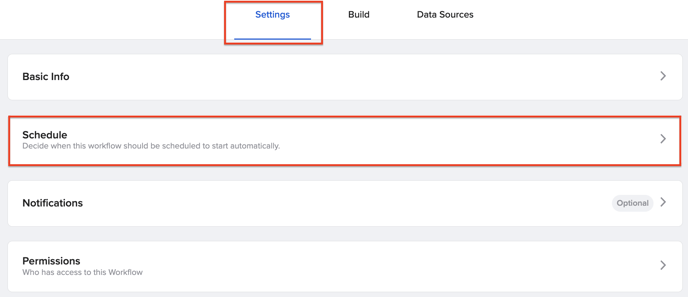
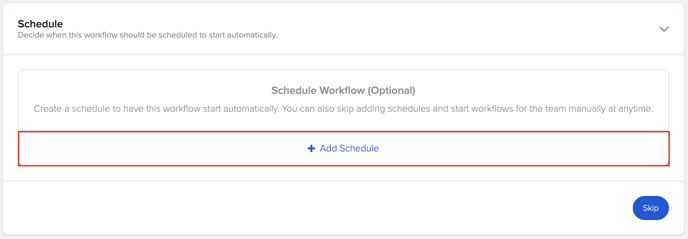
Under schedule, you will click the "+ Add Schedule" button.
Note: You will automatically be taken to this settings tab if/when you are creating an entirely new Workflow.
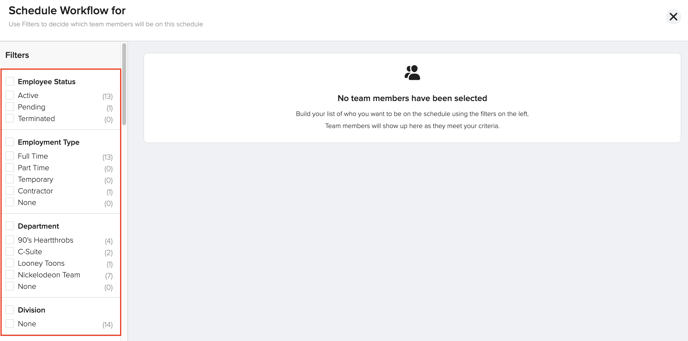
4. You will come to a drop-down menu where you can select specific or all team members, and the schedule you would like this workflow to be scheduled to start.
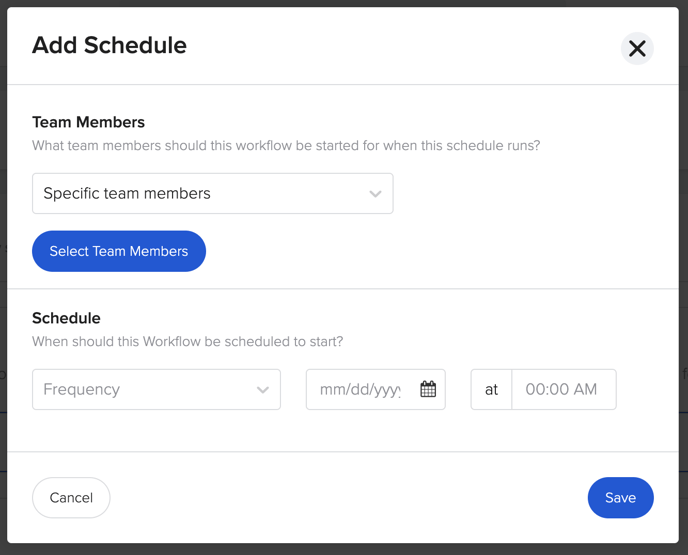
If you choose to select specific team members, you will be redirected to select from the available filters.
5. Once your team members are selected, set up your frequency, start date, & Start Time. Notice the dropdown menu has several options for you to choose from if you wish to put a Workflow on a recurring schedule (Daily, Weekly on, Monthly on, Yearly on, Yearly on Work Anniversary, etc.)
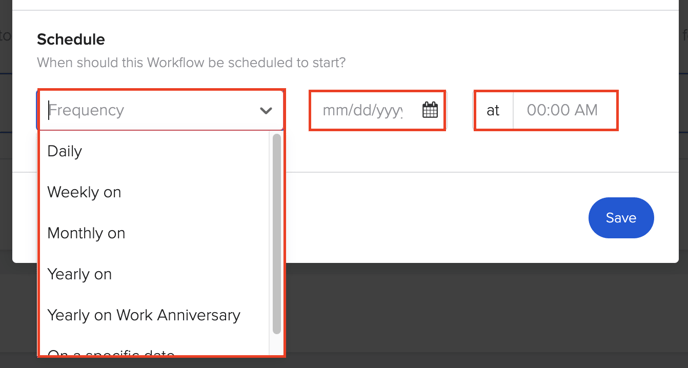
Click save, and you're all done!
You can also check out our Mini Tutorial on this feature below! (things may look slightly different due to some UX changes)
Email help@goco.io or reach out to your Client Success Team if you have any other questions! Happy Hiring! 🦖
Updated 11.9.2023